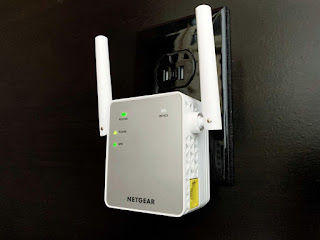
How Do I Setup My Netgear WiFi Extender?
The Internet has become an imperative part of our daily life. You will be able to enjoy the good speed of the Internet by setting up
the WiFi Router at your home, offices or any other work-related places. Sometimes, the WiFi Router is unable to cover all the
dead zones at your home or offices, in such a situation, all you need is Wireless Extender. It helps to enhance the strength of the
WiFi Signal. If you will face any problem while performing the Netgear WiFi Extender Setup, then reach out to the best technical
team of professionals. You may also refer to the device manual to gain more information about it.

The main purpose of the Netgear range extender is to expand the home WiFi network by simply connecting with the existing
network. Thus, helps to improvise the coverage. You just need to access the www.mywifiext.net address. Then you will be
able to configure or change the settings as per the requirements. In this blog, you will get the best instructions which you can
use to set up the extender.
Step By Step Guide To Setup Netgear WiFi Extender
Here you will get the best guidance for Setting up the Netgear WiFi Extender:
The initial step is to plug in the extender.
You will see that the power LED lights will now glow.
Connect the PC with the extender's WiFi network.
Your device might sometimes warn you that the Internet is not available. Thus, keep the WiFi connection.
Open the new web browser and then carefully enter the mywifiext.net.
You will see that the New Extender Setup page will now display.
Now tap on the ‘New Extender Setup’.
If prompted, you need to accept terms and conditions. Tap on the ‘Yes’ button.
Now Select the Extender's admin credentials.
It is recommended to use the default username and password.
Choose and then answer two security questions.
These types of questions are used to recover the extender's admin credentials.
Tap on the ‘Next’ button.
In case the extender asks if you want to use the Netgear Genie to help. Then click on the Yes.
You will see that the extender will now search for local WiFi networks.
Tap on the Next button to proceed.
Now enter the existing network's password. Then tap on the ‘Next’ button.
Choose the SSIDs and passwords for the extender.
Tap on the ‘Next’ button.
You can see that the extender applies your settings. The process may take some time so I need to wait for a while.
On a device which you have the plan to connect to the extender network, navigate to the WiFi settings. Then connect with
the extender's new network.
Move back to the web browser, and now choose the checkbox available at the bottom of the page.
Tap on the Continue button.
Finally, the Extender is now able to extend the network's coverage.
Are you still unable to understand how to perform the Mywifiext.net Login, then approach the best team of experts?
All our professionals are rich in experience to deal with common Netgear Setup related issues. They are providing 24*7 hour
services; do not frustrate your mind. The technicians are skilled enough to reach out to the best professionals. We have
technical experts who use unique ways to fix the queries of the customers. Choose us and get the one-end solutions fromus
right now!


Comments
Post a Comment